Remember that Pumpkin Puree we made a few weeks ago? Well, here’s my favorite use for it. It was the first time I have ever had pumpkin ice cream and I must say friends,……it…..was………delish! I can’t wait to make it again. The recipe came from a Ben & Jerry’s Ice Cream &
Desserts Book I found over the summer. I found this book at a non-profit Resource Center for Teachers and Daycare Providers that has pretty much everything at a SUPER low discounted price. While I was shopping there one day, someone over the intercom announced a Ben & Jerry’s Ice Cream recipe book for .50 cents. Well psh,…guess who turned her shopping cart around and headed to the book shelves. YO!! Until this book entered my cookbook library, I had no idea how easy it is to make ice cream. Thank you lady on the intercom! There was some pretty good info in this little book (naturally), and after reading through the ice cream theory chapter I was so greatful for the ice cream maker my cousin gave me as a wedding gift 8 years ago. Did you know that good ice cream requires air as an ingredient?! It’s called overrun, and according to Ben & Jerry, it happens when “air is stirred into the ice cream during the freezing process” (p.21). Never knew that! Makes sense though right?!
Anyway, the first recipes they introduce are three types of sweet cream bases that you will need to start off with. I chose this one:
2 large eggs You will also need an ice cream maker machine for this recipe and should already have it frozen in the freezer.
Start by whisking the eggs for about 3 minutes (on speed #4 if you’re using a kitchen aid mixer).
Slowly add the sugar while whisking until it is completely blended into the eggs.
Add the whipping cream and milk and whisk about 1-2 minutes or until it’s all blended. It’ll start to build a frothy top layer.
 Now do yourself a favor and taste it. I’m not joking. Seriously! If you have never tasted a sweet cream base before, you must get a spoon and taste this liquid dessert before you add anything to it. Go….trust me. I’ll wait.
. . . . Good right?! Now that you’ve tasted a piece of Heaven, you may continue. Pour about 1 cup of the base into another bowl or into the same container that you will be using to freeze your ice cream and set it aside. The 8 cup rectangluar Glad plastic containers are the perfect size.
To the remaining base in the mixing bowl add:
1 cup pumpkin
Wheesk it all again until well blended.
Return the 1 cup base that you set aside back into the mixing bowl with the pumpkin & cream batch.
Blend one last time just to mix it all together.
Pour it into your assembled ice cream maker.
Take note that I say ASSEMBLED ice cream maker. A long time ago I lost our instruction manual. Boy was I wishing I had it this time around because I didn’t know I was supposed to have the paddle and lid on before pouring the liquid into the ice cream maker. It was a little difficult for the paddle to stay put in its grove inside the bowl because as soon as I poured the ice cream inside, it immediately started to freeze it. Needless to say, it took a few spins and jiggles to get it to finally spin right.
This is when I should have poured it in.
Now I know.
After about 40-45 minutes it will look like this.
This is probably a better picture of what it looks like when it’s done.
The best part is TASTE TESTING!! Woohoo!!
Pour it all back into a plastic container, cover, and stick it into the freezer for another couple of hours if you want it more stiff. You don’t have to do this step, but I noticed that it melted much quicker without finishing the freezing process in the freezer.
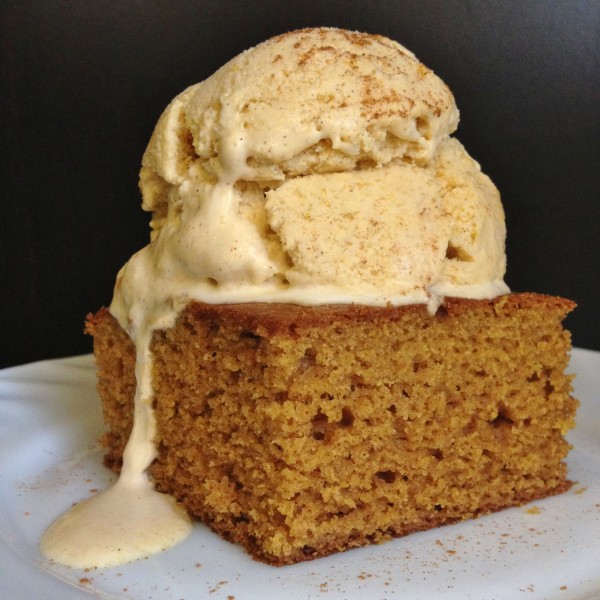
While my pumpkin ice cream was in the freezer I made pumpkin bread (recipe coming soon). So when my bread was still warm I topped it with a hefty size scoop (ok, two scoops) of the ice cream and ohmyygooodddnnnesssss. Pumkin ice cream rocks!
I’m bringing this to the dessert table for thanksgiving for sure. |
Pumpkin Puree Recipe #3: Ice Cream
